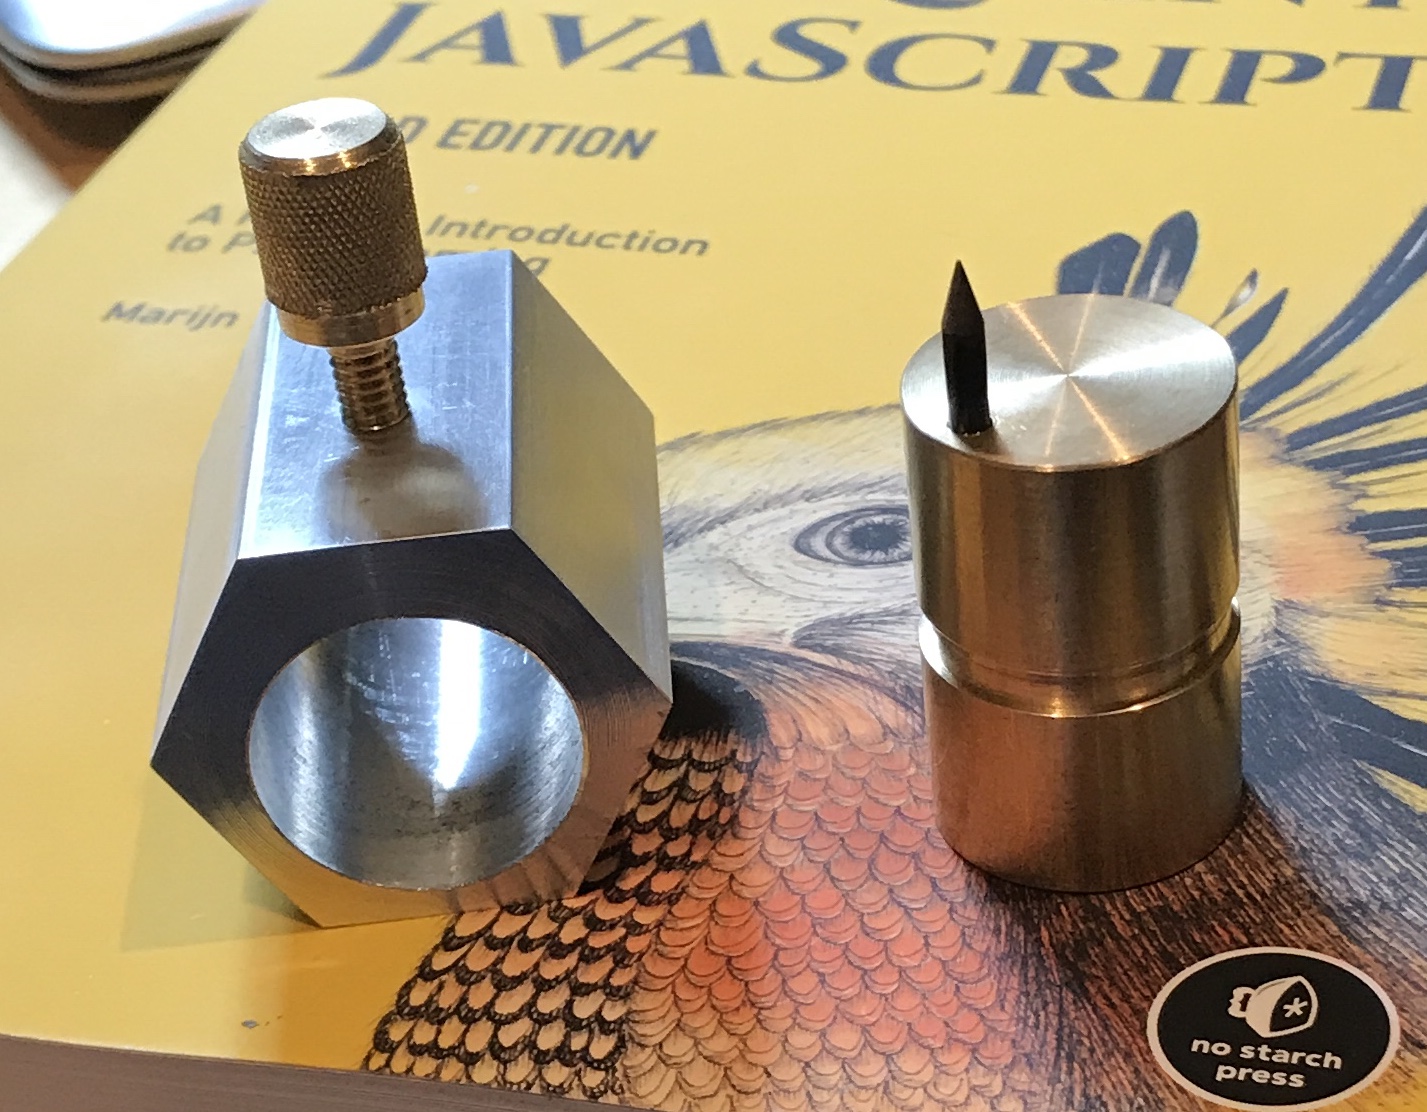
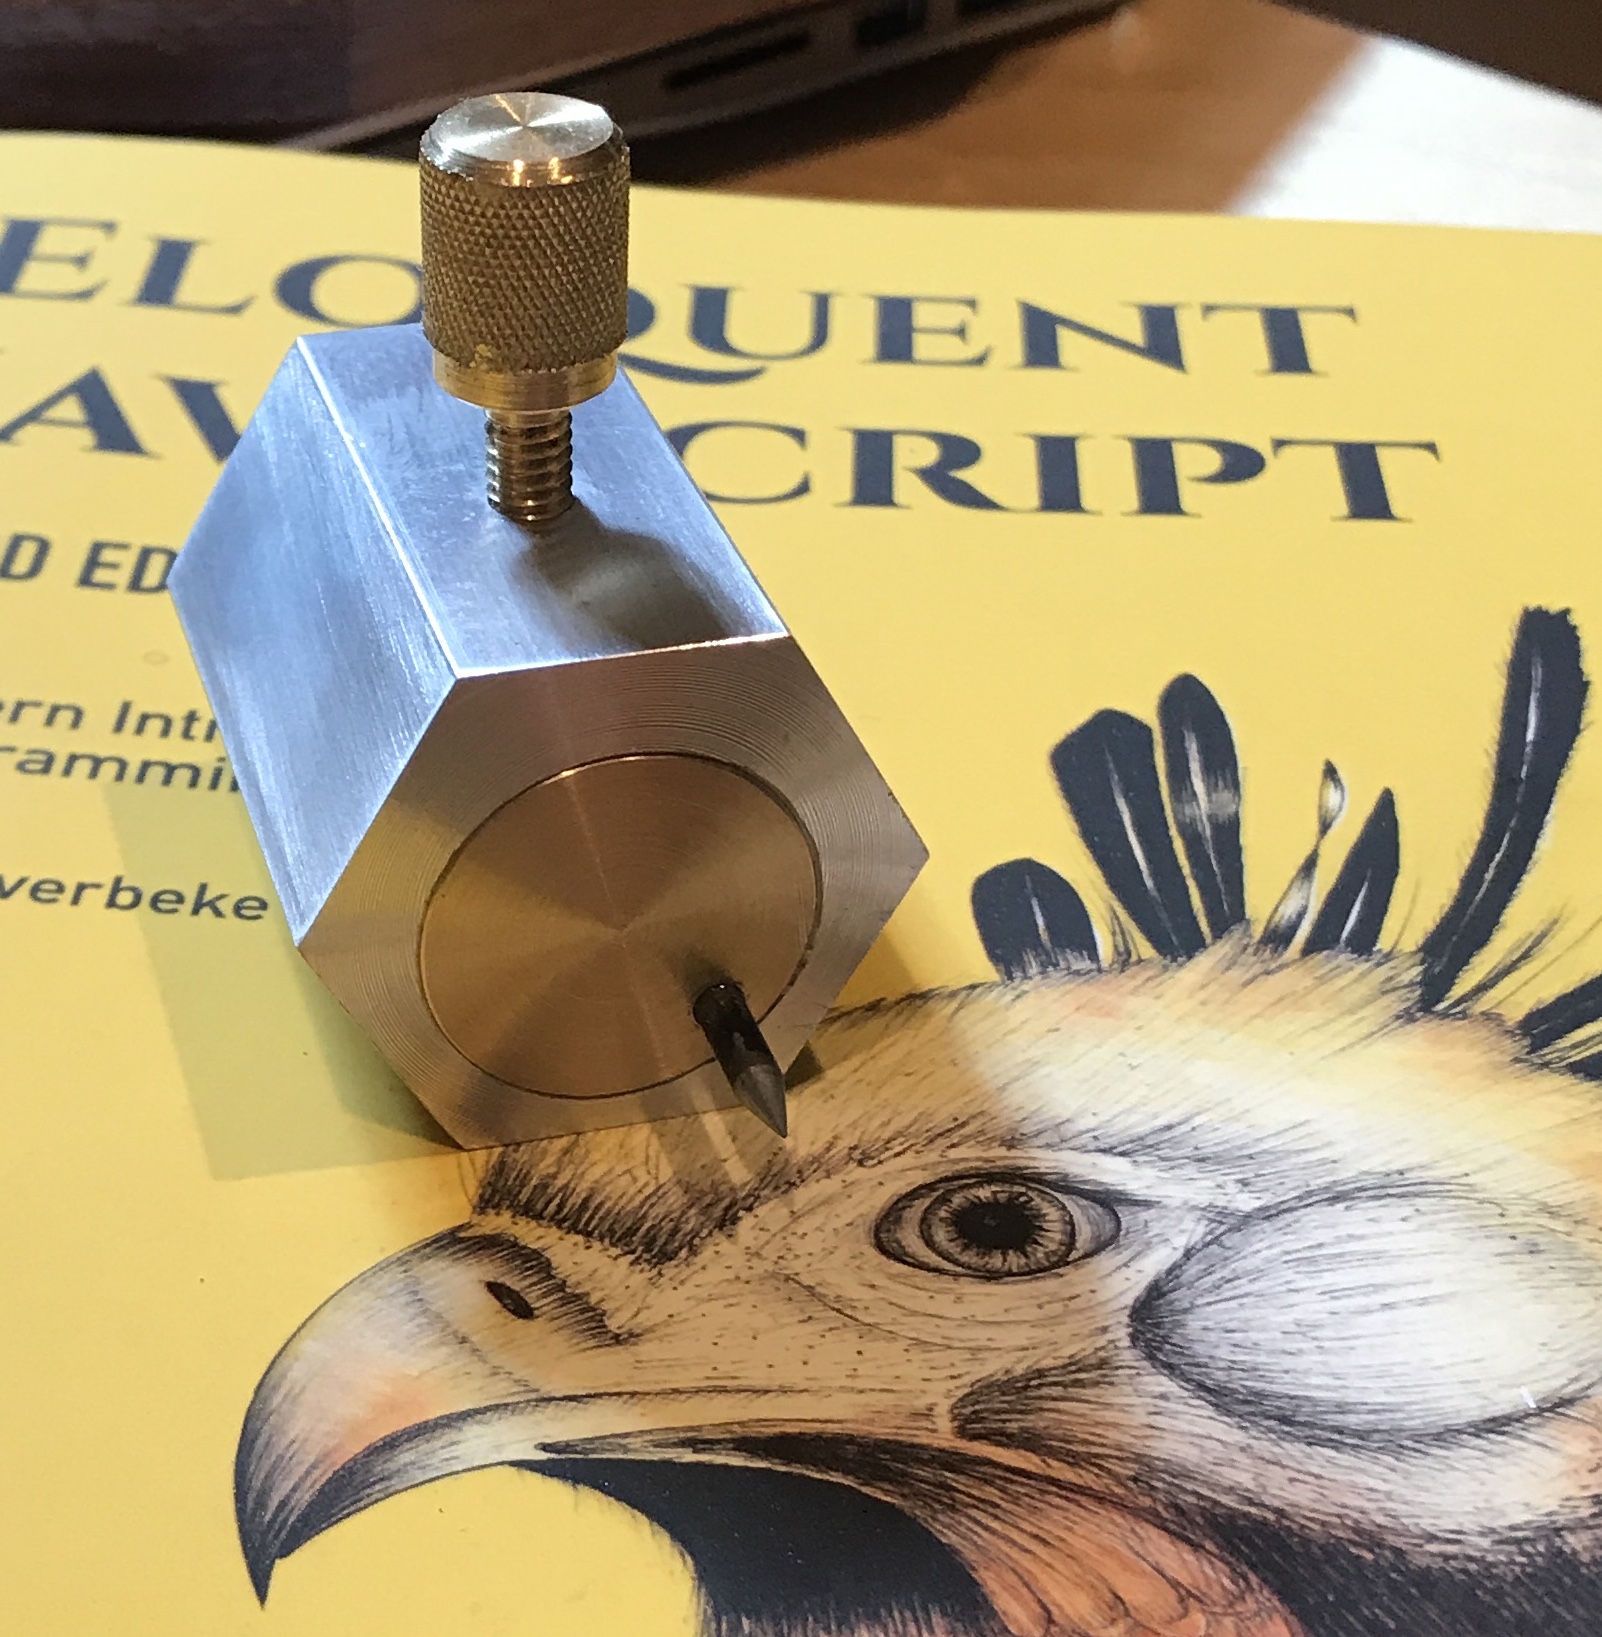
I was looking for a small project to tide me over while waiting on one more type of transfer paper for orrery ink transfer. The following was found in my DevonThink database. The pictures came from a discussion group (homeshopmachinist/shop made tools). It is a low profile adjustable marking tool. Rotate the tool to set the marking pin at the desired height and make a scratch on your stock.
I did not have any brass large enough for the outer base of the tool. I did find a 1 3/4" length of 1 13/8" aluminum hex and a 1" diameter brass rod. The aluminum was chucked in the South Bend 3-jaw chuck. It was faced on both ends. One approach to making this was to offset the through hole for the pin holder. Two small rectangles of 1/8" aluminum were cut and used to displace the hex in the chuck. The total offset is less than 1/8", but I never bothered to determine what it was.
The offset hex was center drilled and then drilled with a 3/8" drill. The hole was opened to 5/8" to use the boring bar. The boring bar needed to be raised about 1/8" above the height of the standard spacer I made for the 3/8" tools. The bar needed to be extended about 2" in order to make it all the way through the part. The boring tool did not cut the aluminum. There was too much chatter from the makeshift holder and/or the long extension. Consequently, the hole was opened to 1" by drilling. The drilling went very smoothly as long as the drill was advanced slowly. Luckily the drills were quite sharp. (Thanks Uncle Bob!) This produced a nice sliding fit for the 1" brass rod.
Rough measurements of the wall thickness of the aluminum part are 0.110" at the base and 0.280" at the top.
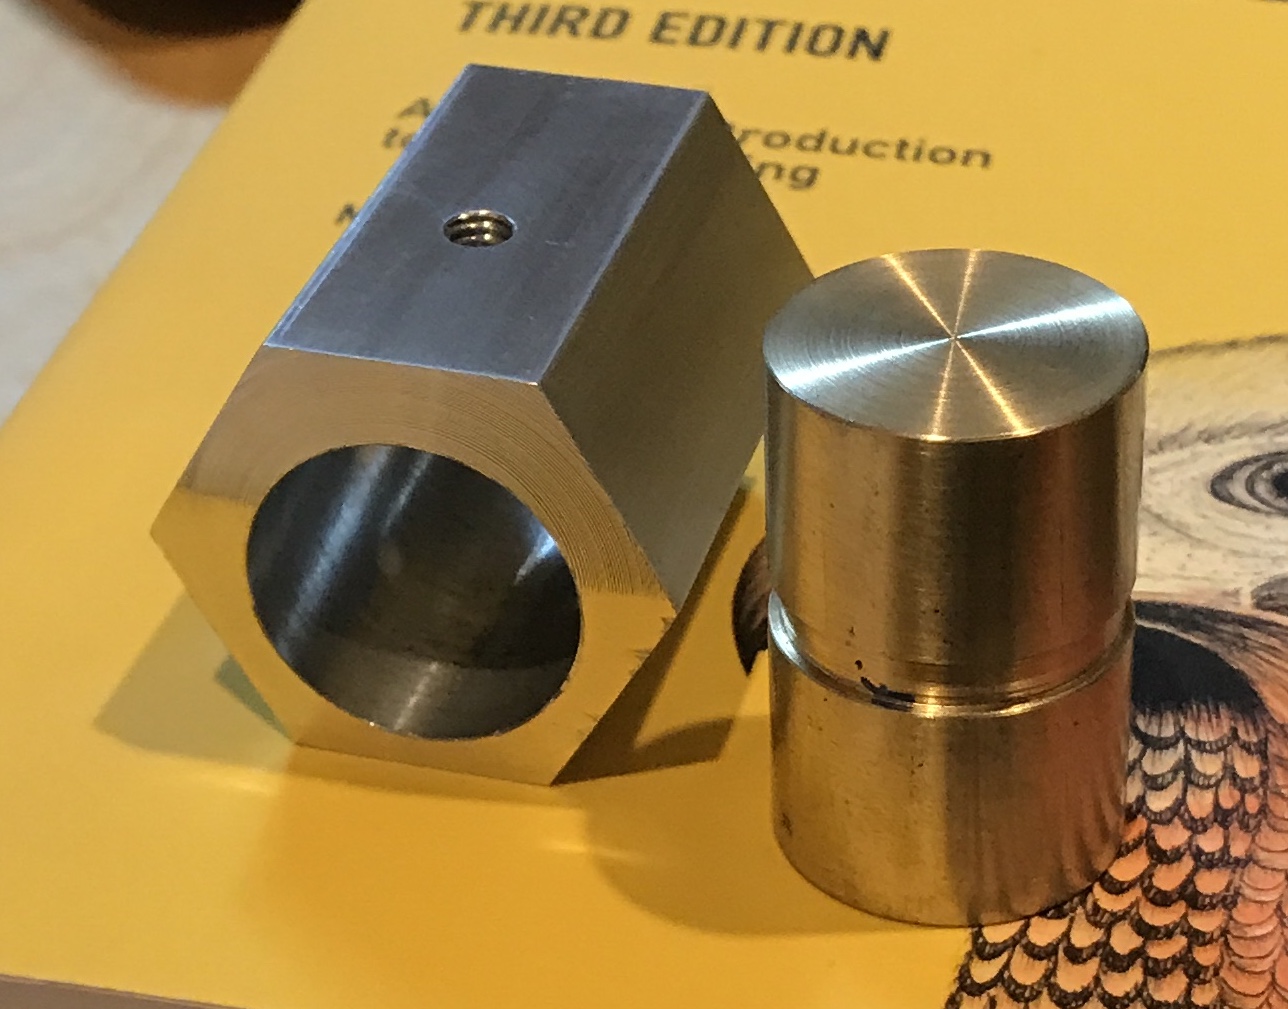
The brass rod was cut to length and faced on both ends. The ends were very lightly chamfered. A wide cutting tool (5/32") was used to make the groove in the center of the rod for the set screw. Both parts were deburred and sanded a bit. The center of the groove was measured from the end of the part and this distance was marked on the aluminum. The aluminum was drilled at this distance on center through to the hole with a #16 drill. The hole was tapped 12-24. The picture below shows both parts at this stage.
The screw was tackled next. A 1 1/4" length of 1/2" bronze rod was faced and the end was heavily chamfered. It was then knurled for about 1/2". It was reversed in the chuck and held with soft aluminum jaws. The other end was faced and then the diameter was reduced to 0.216" stopping just a bit before the knurling. The length was shortened by facing and the end was chamfered. Threads, 12-24, were cut with the lathe to a depth of 0.023". This provided a decent fit in the tapped outer base.
For some reason the part kept jumping out of the chuck even with reasonably light cuts. This, unfortunately, marred the knurling somewhat.
A 1" length of 1/8" drill rod was faced on one end in a collet and the other end was cut to almost a point with the headstock set at 15°. This pointed end of the pin was heated to cherry red and quenched in motor oil. The hardened pin was held in the cordless drill and sharpened on the sanding belt.
The inner rod was held in the vise with a small v-block. The #0 center drill (0.125" in diameter) was centered behind the part on the x-axis by eye. It was slowly brought up to the part while spinning until it could be heard touching the part. The spindle was raised and then moved toward the center of the part by 0.188". The part was center drilled, drilled 0.116" and reamed 1/8". The hole was lightly deburred.
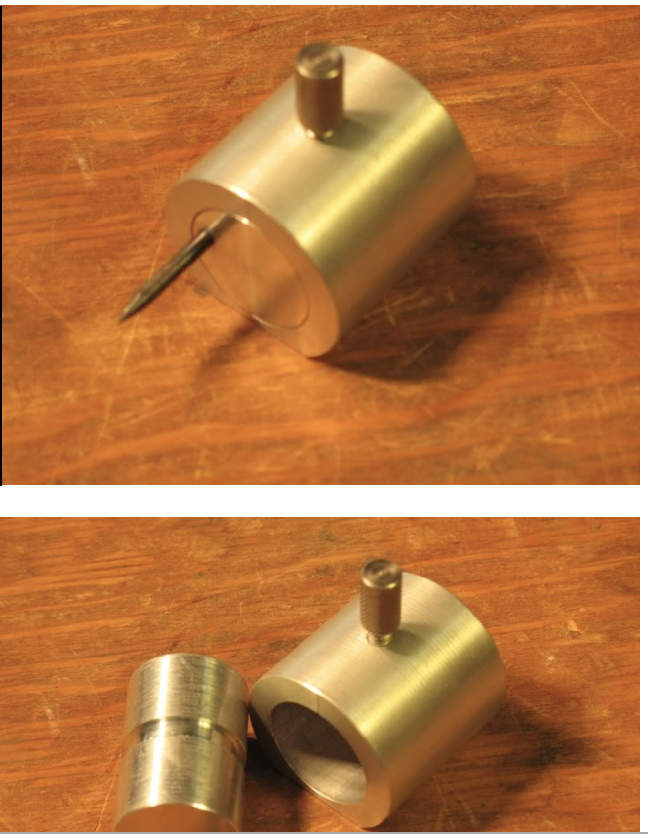
The pin was too tight of a fit so it was sanded until it was a sliding fit in the hole. A drop of Loctite was placed in the hole and an attempt was made to insert the pin. No amount of wiggling would allow the air bubble to come out and the pin would not stay all the way in the hole. The pin was returned to the lathe and a very light cut was made on the unhardened end. The pin slid cleanly into the hole and the glue was left to dry. The first photo below shows the two separate parts and the second shows the parts assembled. The lowest it will mark is 1/4".